The induction was very practical and once we were shown the ropes we were able to go off and take our own photos with a mini brief. We had to take four photographs. Here are my final photographs...
1) Fast Shutter Speed
What this meant is that the photograph is captured incredibly fast. This technique is mainly used for photographing movement e.g. running, fast cars etc. below is my fast shutter speed photo...
I got Matt to jump on the spot, then I took the photos. It took a few to get it perfect, and even my final photo I'm not a hundred percent happy with. He's slightly out of focus and it would have looked more effective if his hand was in frame. But it captures him in mid-air which was the most important thing.
2) Slow Shutter Speed
Slow shutter speed is the opposite of fast shutter speed so the camera takes a long time to capture an image. This technique is excellent for time lapping and capturing photos of sparklers and fast moving cars, they appear blurry but also have a really nice effect.
I wasn't too happy with my photo. Not going to lie, it was by far the hardest of the four photos to take. So many times the image would just be way to bright because I had let too much light in or it would just be a blur because it would have captured too much movement. The above image is supposed to be me moving my hand up and down before a still can, but I just look like a ghost.

I feel like I needed to add this (above), this is slow shutter speed done right, I really don't think it comes across in my photograph at all.
3. Deep Depth of Field
For this photo we had to focus on an object or person close up, being the most prominent thing in the frame and focus in on them, leaving everything else to be blurry.
Above is my final photo, Amy (Right) is closest to the camera and is in focus, whereas Matt who's further behind is out of focus. If I were to take it again i would try to make Matt a lot more out of focus but I feel it accomplishes what I went for.
2. Shallow Depth of field
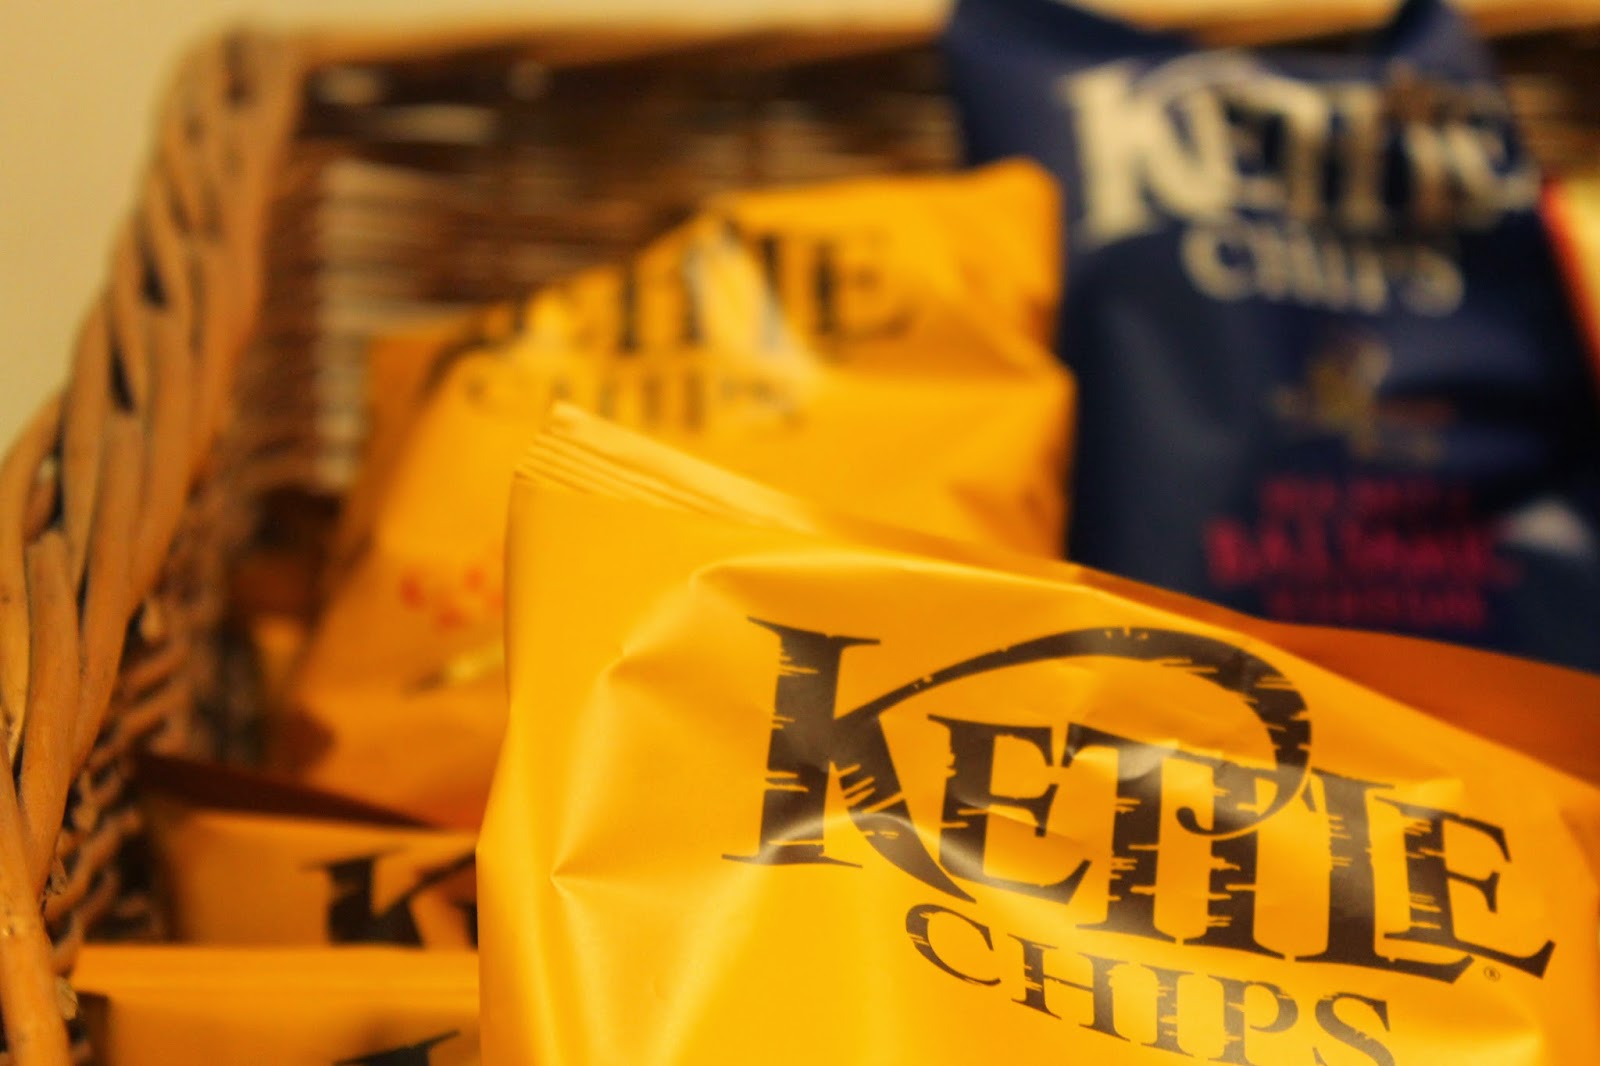
Shallow Depth of field is when the thing that is biggest and closest to the camera is out of focus and what is in focus is whatever is happening in the background.
Above is my photograph. It's probably the one I'm most satisfied with, and even this one isn't perfect. I feel there were certain aspects that could have been improved, e.g. Matt could have been even more out of focus.
Overall I enjoyed the exercise, it was challenging no doubt and the cameras were a pain to use. But I feel I got some really interesting results. Below are the photos that didn't make the final cut, but I feel still deserve a mention...
Deep Depth of Field
Shallow Depth of Field


No comments:
Post a Comment